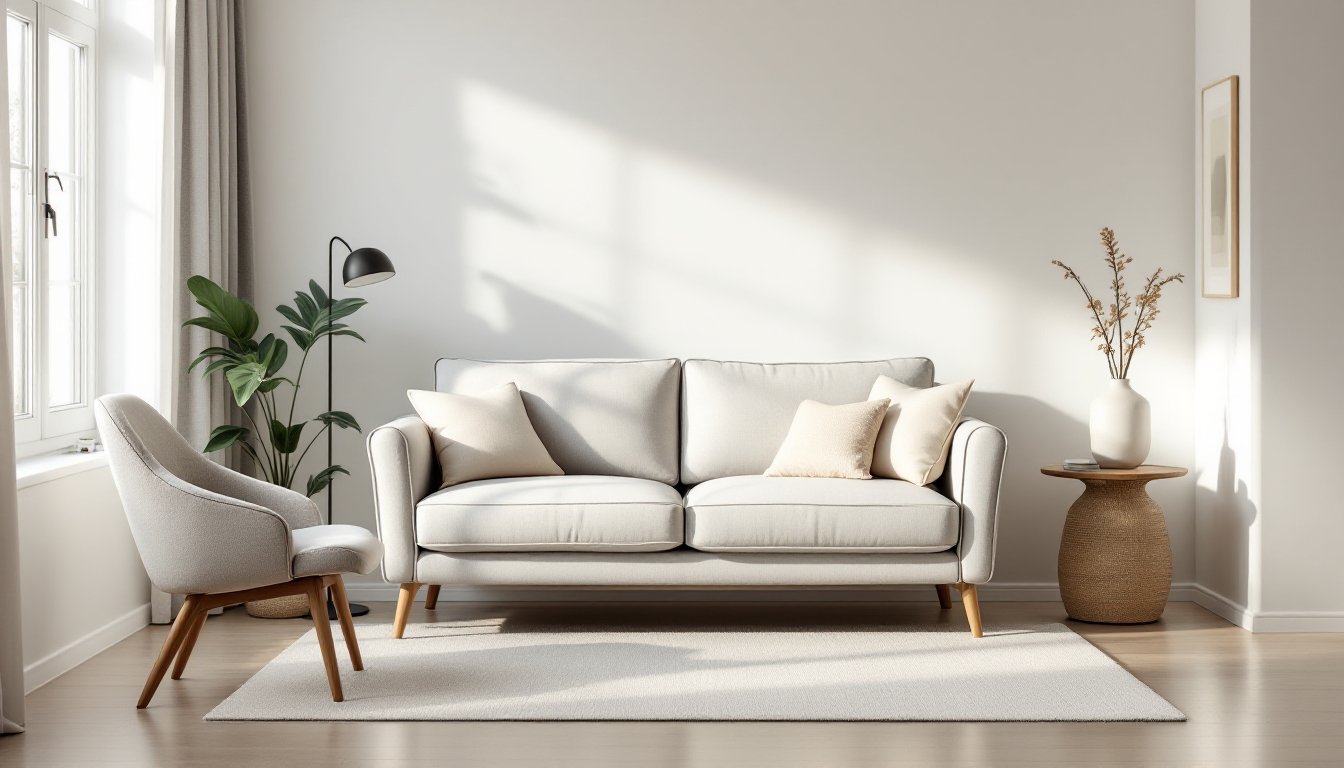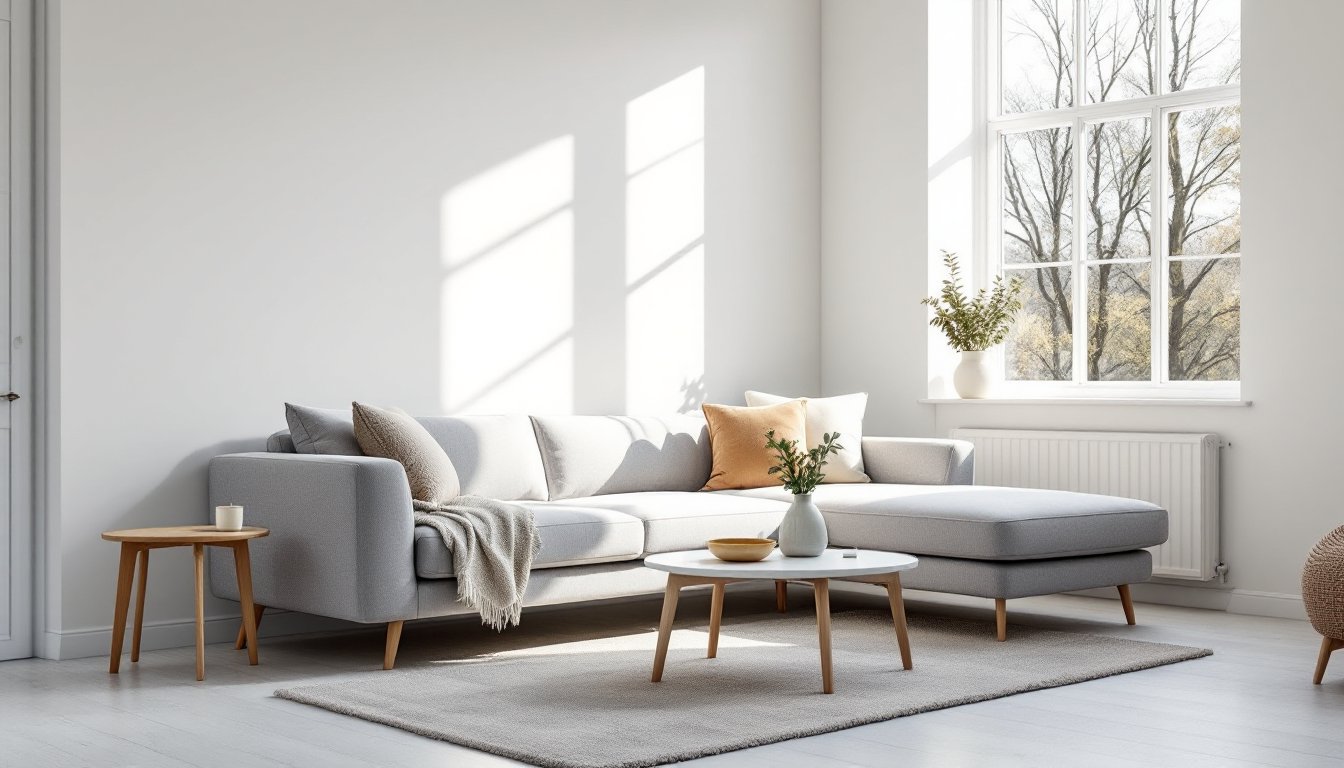
The TV wall doesn’t have to be a blank canvas. Whether you’re staring at a 55-inch screen mounted on drywall or a built-in entertainment center, the space around your television sets the tone for your entire living room. With the right decoration ideas, a TV wall becomes a focal point that adds depth, personality, and style to your home. From accent paint and shiplap to floating shelves and gallery walls, there are dozens of ways to transform that rectangular void into something worth looking at when the screen’s off. This guide walks through practical, budget-friendly, and sophisticated options that work for any style, whether your living room leans modern, traditional, or somewhere in between.
Table of Contents
ToggleKey Takeaways
- TV wall decoration ideas transform your living room focal point through accent walls, shiplap, floating shelves, and gallery walls that reflect your personal style.
- Accent paint in deep jewel tones or soft neutrals instantly enhances your TV wall; extend the color 12–18 inches beyond the screen for a polished, intentional look.
- Floating shelves cost $50–$300 per unit and take a weekend to install, making them a practical, renter-friendly alternative to built-in storage.
- Gallery walls work best with intentional, loose layouts mixing frame sizes and finishes; sketch your design on paper first to avoid excessive nail holes.
- LED strip lights behind the TV and wall sconces at eye level reduce strain and add ambient glow, transforming the space from functional to fabulous for under $50.
- Wood paneling and shiplap designs add warmth and texture; peel-and-stick options ($1–$5 per sheet) provide a budget-friendly alternative to real wood without long-term commitment.
Accent Wall Treatments Behind Your TV
An accent wall is often the quickest way to draw attention to your TV setup without structural work. The area behind your screen is the perfect place to experiment with bold color or texture since it won’t overwhelm your entire room.
Paint Colors and Wallpaper Options
A fresh coat of paint can completely change the mood. Deep jewel tones like emerald, navy, or charcoal create a sophisticated backdrop that makes light-colored TV bezels pop. Lighter neutrals, warm grays, soft blacks, or warm whites, keep the focus on the screen itself while adding subtle character. Pro tip: paint extends 12–18 inches beyond the TV on either side so the accent feels intentional, not cramped.
Wallpaper offers more texture and pattern. Grasscloth, shiplap-look peel-and-stick wallpaper, or bold geometric designs add visual interest without the commitment of actual paneling. Peel-and-stick options are renter-friendly and removable, though they won’t last as long as traditional wallpaper (typically 5–7 years before peeling). Standard wallpaper applied with proper adhesive lasts 10+ years and handles moisture better, making it worth the extra effort for high-traffic living rooms. Always prep the wall with spackle and primer first, rough, unprepared surfaces will telegraph through wallpaper like a bad toupee.
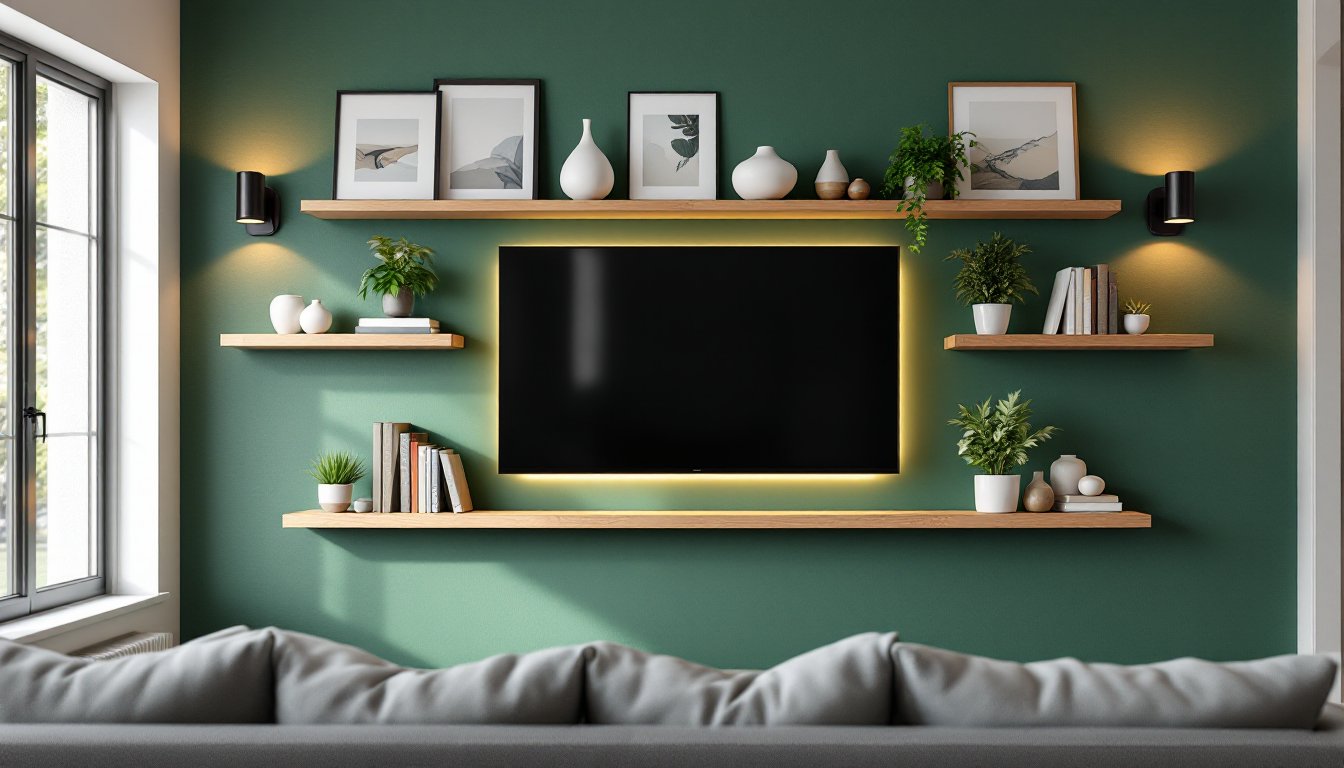
Floating Shelves and Storage Solutions
Floating shelves frame your TV and provide functional storage for remotes, speakers, and decor. They’re attached to wall studs with heavy-duty brackets (typically rated for 50–100 lbs per shelf) and create a clean look since no legs are visible.
Install shelves on either side of the TV, staggered at eye level, or run a continuous row above the screen for a gallery-style effect. A Living Room Wall Art approach works well here, alternate decorative objects, books, and plants to break up the visual weight. Avoid cramming every surface: negative space makes displays feel intentional, not cluttered.
Built-in shelving around a TV creates a polished, custom look but requires framing, drywall, and often professional installation. If your living room budget allows, built-ins are permanent and add resale value. Floating shelves cost $50–$300 per unit (depending on size and material) and take a weekend to install. For renters or those testing layouts, floating shelves are the practical choice. Always locate studs with a stud finder before mounting, drywall alone won’t hold weight over time.
Framed Art and Gallery Walls
A Living Room Gallery Wall around your TV adds personality and fills dead space. The key is a loose, intentional layout, not a rigid grid. Mix frame sizes, colors, and orientations to create visual rhythm. Aim for frames in a cohesive finish (all black, all natural wood, or mixed metals) so variety in art doesn’t feel chaotic.
Measure your wall, sketch your layout on paper first, and use painter’s tape or kraft paper templates to preview placement before hanging anything. This prevents the frustration of too many nail holes. Standard picture hangers work for lighter frames (under 10 lbs), but use wall anchors or locate studs for heavier pieces.
Print and frame your own photos, quotes, or abstract prints to keep costs low. Museum-quality prints run $2–$8 per frame when you shop sales. Mix in a few 3D elements, a fabric wall hanging, a decorative wooden sign, or a small floating shelf, to add depth. According to design-focused sites like MyDomaine, galleries that blend photography, typography, and negative space feel more curated than those packed edge-to-edge.
Wood Paneling and Shiplap Designs
Wood treatment instantly adds warmth and texture. Shiplap, boards with a rabbit joint that overlap slightly, is popular, but tongue-and-groove, board-and-batten, and simple plank paneling all work beautifully behind a TV.
Real wood paneling runs $3–$15 per square foot in materials, plus labor if you hire out. DIY installation requires measuring, cutting, and securing boards to studs with finish nails or a brad nailer. Expect 2–3 days for a typical wall and basic carpentry skills. Alternatively, peel-and-stick wood-look panels ($1–$5 per sheet) mimic shiplap without commitment, though they’re less durable than real wood.
Paint shiplap white, soft gray, or a warm natural tone to keep it from feeling too rustic. A darker wood stain adds luxury living room appeal, especially paired with moody lighting. Before installing any paneling, ensure your wall is flat and clean. Uneven drywall creates gaps and looks sloppy. Use a level constantly as you work, off-by-one-degree slopes compound across an entire wall. For a polished finish, caulk seams and sand any rough edges.
Lighting Fixtures and LED Accents
Lighting transforms the TV wall from functional to fabulous. LED strip lights behind the TV frame reduce eye strain during viewing and add ambient glow. Warm white (2700K) looks cozy: cool white (5000K) feels modern. Battery-powered or plug-in options run $15–$50, making them the easiest upgrade.
Wall sconces on either side of the TV add task lighting for evening relaxation and frame the display without glare on the screen. Brass, black, or wood finishes align with most decor styles. Install sconces 48–60 inches from the floor, roughly eye level when seated. This requires running electrical wire, so a licensed electrician is the safe choice if you’re uncomfortable with wiring, costs typically run $200–$500 per sconce installation, including material.
Recessed lighting above or below floating shelves, pendant lights, or a statement chandelier nearby all enhance the space. Smart bulbs let you adjust brightness and color temperature from your phone, a worthwhile investment for about $10–$20 per bulb. Resources like Homedit showcase how strategic lighting turns a simple TV wall into a design focal point. Always install lighting before hanging décor to avoid working around obstacles.
Conclusion
Your TV wall doesn’t have to be an afterthought. Whether you go bold with an accent paint color, add texture with shiplap or wallpaper, layer in shelves and art, or elevate the space with thoughtful lighting, these ideas work together to create a living room that feels intentional and inviting. Start with one treatment, maybe paint or floating shelves, and build from there. The best TV wall is the one that reflects your style and stands up to daily use without screaming for a redo in six months. Take your time with planning, prep your surfaces properly, and enjoy the process.